
Responding to a Failed Water Test
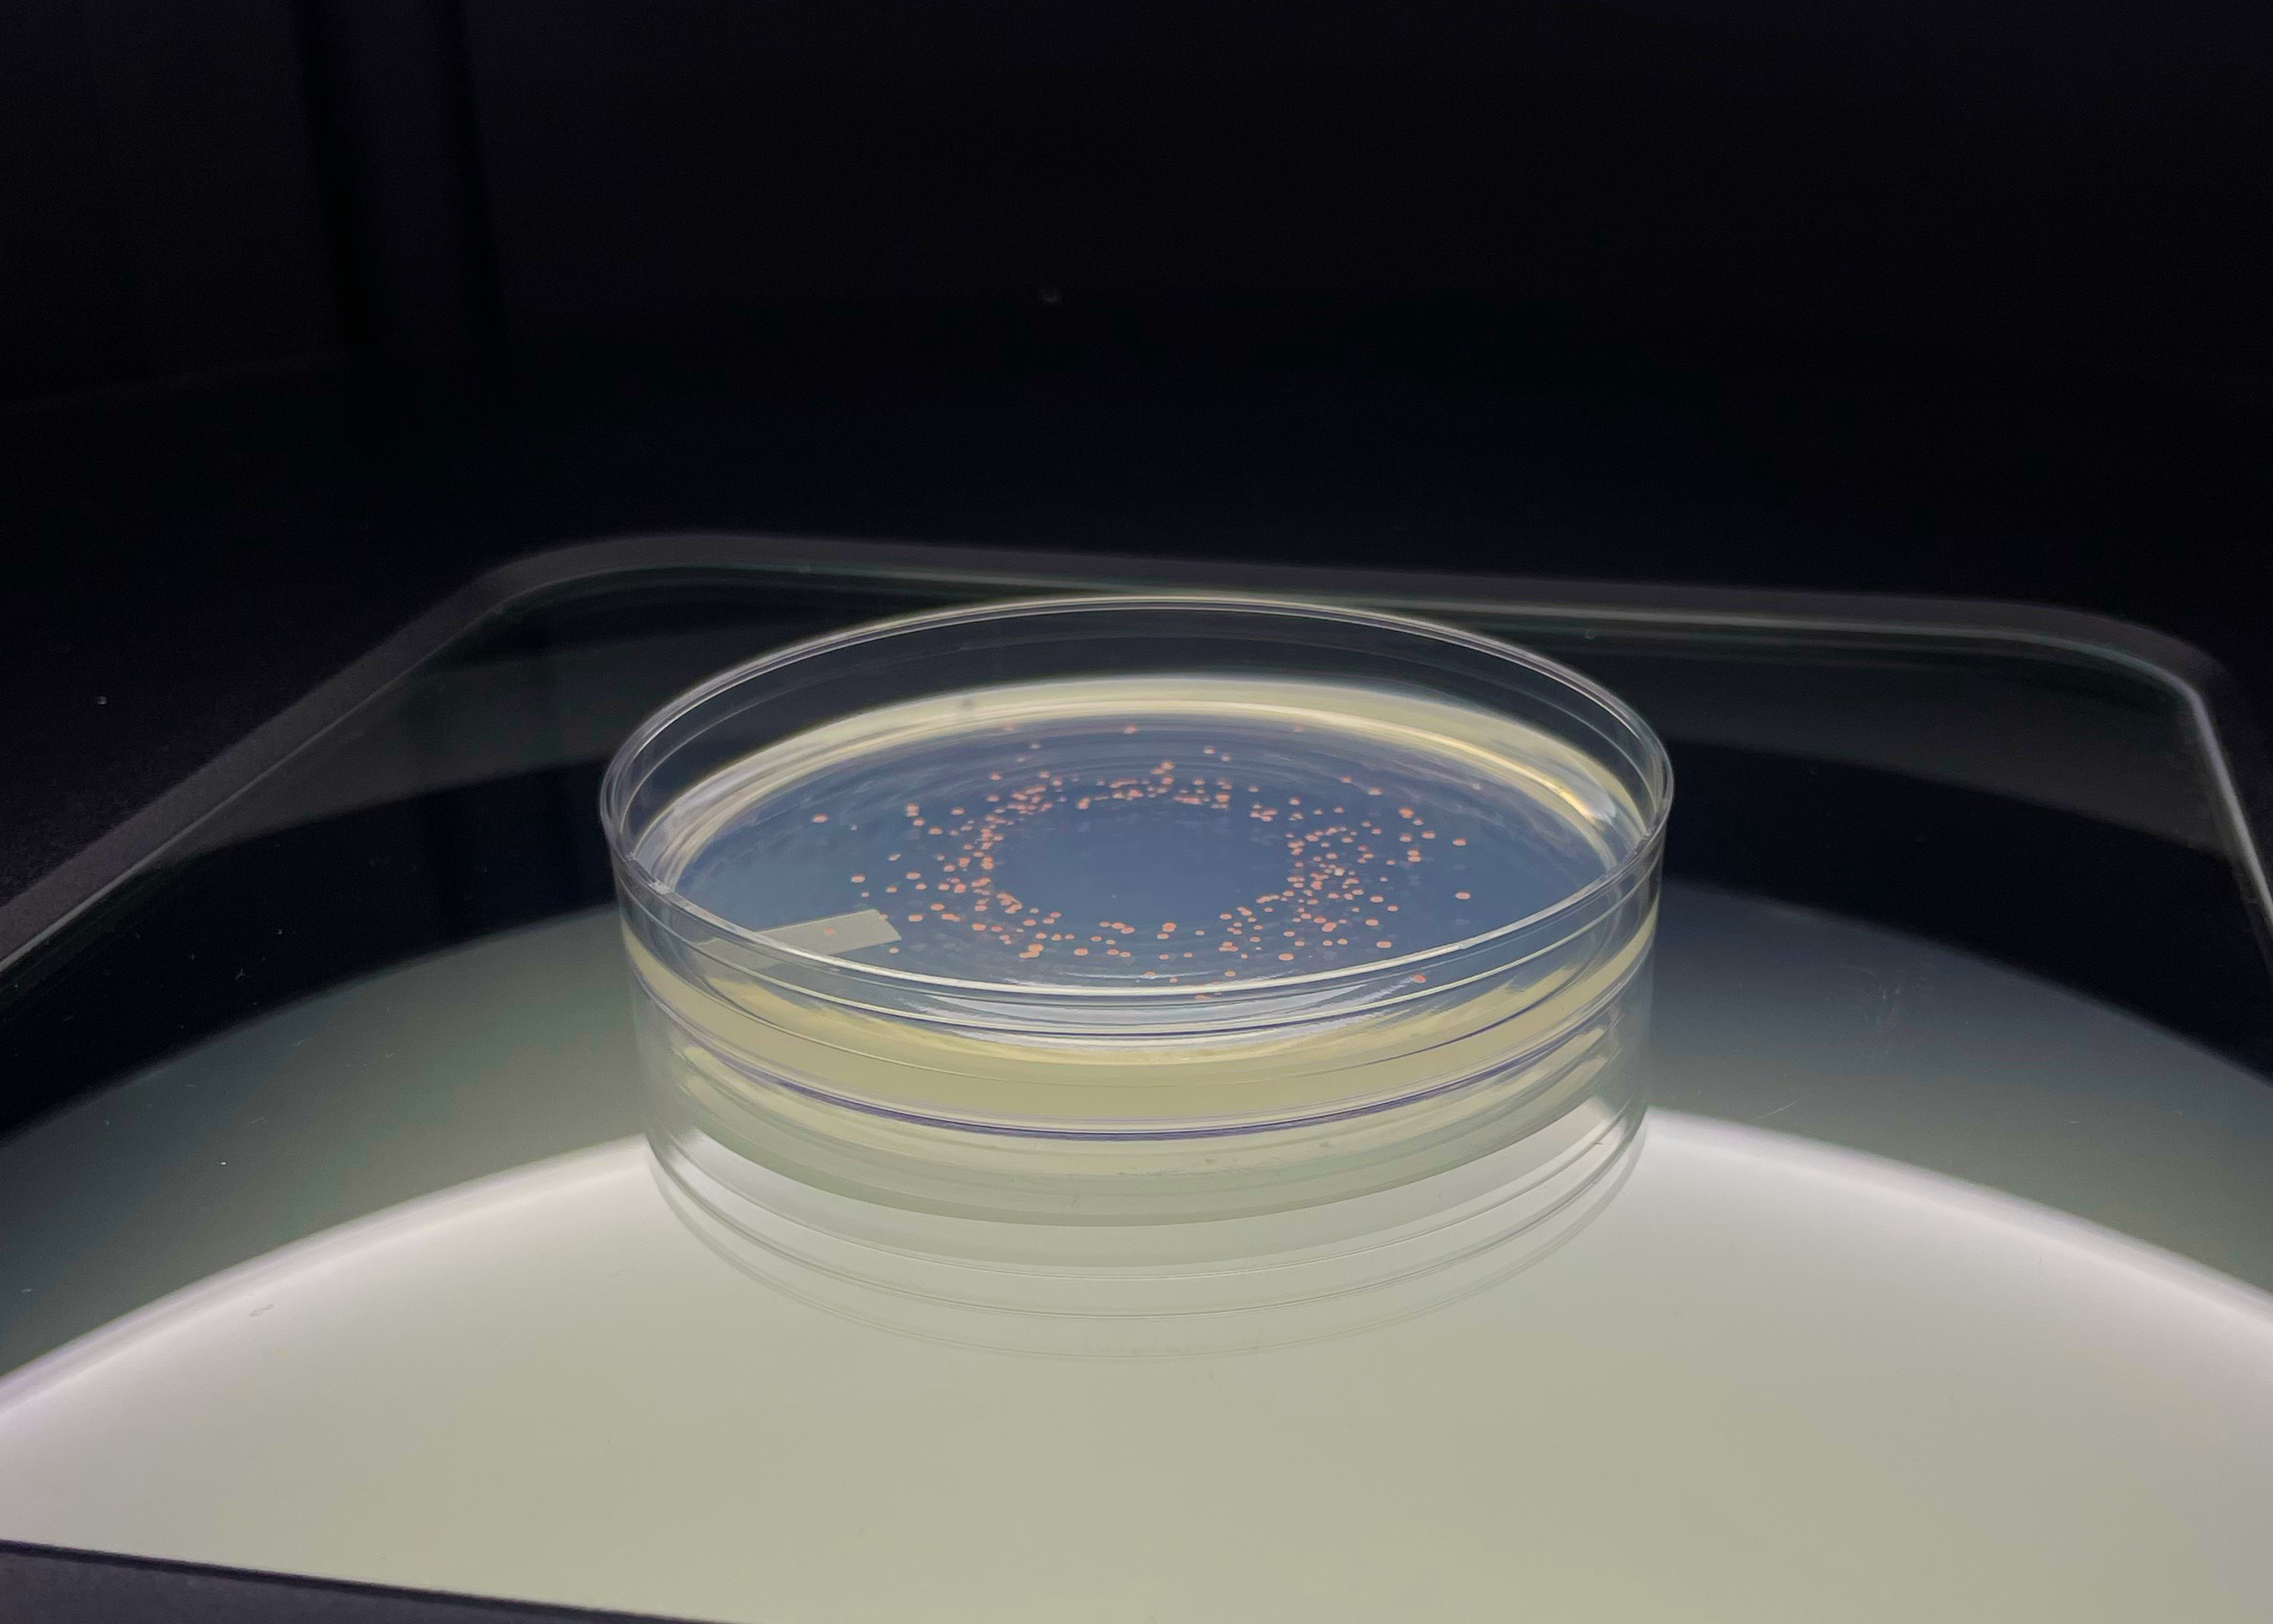
A failed dental water test can feel stressful, especially when you are trying to keep patients on schedule and keep your infection prevention program airtight. The good news is that a failure is usually fixable when you respond quickly, follow a clear remediation plan, and verify effectiveness.
This guide is written for dental professionals who need a practical, compliant response to a failed dental unit waterline test. It covers what a failure means, what to do immediately, how to decide how aggressive your shock protocol should be, how long to wait before retesting, and how to use added data like pH and total dissolved solids (TDS) to troubleshoot recurring problems.
If your team has a written plan before results arrive, a failed waterline test becomes an operational task, not an emergency.
Jump to:
What A Failed Dental Waterline Test Actually Means
First Steps After a Failed Water Test: What to Do Immediately
How To Remediate a Failed Dental Unit Waterline Test: Shocking Basics
Documentation: What To Record After a Failed Dental Water Test
FAQ: common questions dental teams ask after a failed test
Conclusion: A Failed Waterline Test Is A Problem You Can Solve
Quick Note on Water Quality Targets
For routine dental procedures, practices should align their water quality goals with the drinking water benchmark of no more than 500 CFU of heterotrophic bacteria per mL of water. This standard has been formally applied to dental treatment water by the CDC, supported by the ADA, and enforced by almost all State Dental Boards. Testing to verify compliance should be performed monthly until 2 consecutive passes are obtained, at which point practices may choose to increase their testing interval up to quarterly. The key is consistency. Treat, test, document, and respond consistently every time.
What A Failed Dental Waterline Test Actually Means
A failed result means the bacteria level in the sampled dental treatment water is above the accepted threshold your practice is using for compliance and patient safety. In most cases, the number you receive is expressed as CFU per mL, which stands for colony-forming units per milliliter.
Dental waterline failures are common because dental unit waterlines are designed in a way that encourages biofilm growth. Narrow tubing, intermittent flow, and periods of stagnation create conditions where bacteria can attach to the inner surface, multiply, and release into the water that becomes aerosol during treatment.
A failure does not automatically mean your source of water is unsafe. It generally means the rate of growth of bacteria within the water is outpacing the antimicrobials that are in the water to inhibit that growth. Dental waterline tests are an indication of bacteria activity. Often, a failure is a result of biofilm that has built up inside the chair waterlines, a treatment product not being used exactly as intended, or water chemistry that is reducing product effectiveness. The fastest path back to confidence is a disciplined response plan.
First Steps After a Failed Water Test: What to Do Immediately
When a test fails, treat it like any other out-of-compliance infection prevention finding. Pause, assess, correct, verify, and document.
1) Confirm the Result and Identify the Scope
Start by reviewing:
The CFU per mL value
Which chairs or operatories were sampled
Whether the failure is isolated or widespread
If multiple chairs failed, you are likely dealing with system-wide issues such as inconsistent treatment, bottle handling, water source changes, or a process breakdown.
If the CFU/mL is above 1,000 CFU/mL, or if the failed line(s) have been experiencing repeated failures, a shock product with a specific claim for removing biofilm is likely needed.
2) Remove the Unit From Patient Use Until Corrective Action is Complete
A failed result requires prompt corrective action. As a best practice, remove the dental chair from patient use until the waterlines have been shocked according to the applicable instructions. Although current industry guidelines and regulations do not specifically require a chair to be taken out of service after a failed water test, doing so is the clearest and most protective approach while the issue is being corrected.
Dental teams should discuss and document when a chair will be removed from and returned to service, then incorporate those decisions into the practice’s written waterline management procedure.
3) Plan Your Remediation Before You Touch the System
Before you shock anything, confirm:
Which shock product you will use and the instructions for use (IFU)
The length of time the shock must be in the lines according to the IFU
Whether any cartridges, tablets, or straws need to be removed prior to shocking
Who is responsible for each step and for documentation
How you will prevent accidental clinical use during remediation
Teams that struggle with repeat failures often have a process problem, not a product problem. A few minutes of planning prevents missed steps.
How To Remediate a Failed Dental Unit Waterline Test: Shocking Basics
Shocking is a more aggressive line cleaning step designed to reduce high bacterial counts quickly. Maintenance treatments maintain existing levels of bacteria while shocks reduce elevated levels of bacteria. Some shock products only remove elevated levels of planktonic bacteria, while others also target biofilm.
A shock is most effective when it is followed by:
A waiting period to allow persistent biofilm to expose itself
A retest that confirms the water is back in compliance
A long-term plan that prevents biofilm from returning
If your team is unsure how to perform a shock procedure, follow the instructions for your selected product and consult your dental unit manufacturer as needed.
How Many Shocks Do You Need? Use Your CFU Per mL Number to Decide
Not all failures require the same response. The CFU/mL value provides a practical way to decide how aggressive your remediation should be.
If your result is just above the limit:
If your result is between 500 and 5,000 CFU per mL, one shock should typically suffice.
If your result is significantly elevated:
If it is above 5,000 CFU per mL, you may need to perform multiple shocks in sequence, up to three times, before returning the chair to service. Some protocols use a higher cutoff before requiring multiple sequential shocks. If your organization has a defined protocol, follow it consistently and base next steps on your results trending over time.
Practical Tip for Individual Line Failures
Even if only one line on a delivery unit fails, it is best practice to shock all lines connected to that chair. If failures show up across multiple chairs, it may be more efficient to remediate all affected operatories during a planned downtime window followed by a coordinated retest event.
Retesting After a Failed Waterline Test: Timing Matters
Retesting is not just a checkbox. It is the verification step that proves your remediation worked.
After shocking, the best practice is to wait three to five days before retesting to avoid a false pass. A shock procedure may remove all planktonic bacteria and some biofilm. But if the biofilm has established a thick layer within the waterlines, some may still linger even after shocking. The waiting period gives any lingering biofilm the chance to release additional bacteria into the lines and be caught by the retest. This retest procedure will reflect real waterline conditions, not temporary chemistry effects.
Why This Matters in Real Life
If you retest too soon, your results can look better than they truly are because persistent biofilm may still be present in the lines. This left behind biofilm will continue to grow and release new bacteria into the water. creating a cycle where a chair appears compliant briefly, then fails again at the next monthly test. Build the waiting period into your schedule so the retest is reliable and defensible.
Using pH and Total Dissolved Solids to Troubleshoot Repeat Failures
When a waterline test fails, CFU/mL tells you something went wrong. pH and TDS can help explain what went wrong by indicating any anomalies or outliers showing a protocol breach or possible product compatibility issue.
Agenics Labs' mail-in waterline tests are the only tests in the industry to automatically include pH and TDS readings for every sample, along with CFU/mL. These additional metrics offer a starting point for troubleshooting failing results and can help clinicians understand water quality factors that affect treatment performance.
pH: Why it Matters
pH indicates the acidity or alkalinity of the water. Water chemistry can affect how well certain antimicrobials perform and can impact the integrity of dental equipment components over time. If your pH is consistently outside the range your treatment product expects, you may see inconsistent results even when your team follows the routine.
Recommended pH range: 6.0-8.0
Total Dissolved Solids: What it Can Tell You
Total dissolved solids measures the concentration of minerals and other particles in the water. Elevated total dissolved solids can contribute to biofilm formation by feeding the bacteria and can interact with disinfectants in ways that reduce effectiveness. On the other hand, some treatment products require a certain amount (and type) of dissolved solids to effectively elude their active ingredient. TDS levels that are too low can therefore also reduce treatment product effectiveness.
Recommended TDS range: 10-50ppm
By reviewing pH and total dissolved solids alongside bacteria counts, clinicians gain a more complete picture of waterline health and can make more informed decisions about maintenance and remediation.
Don't Forget Your Source Water
Nearly all treatment products are designed to work with potable water – water that already meets the </= 500 CFU/mL limit. If you have repeated failures, consider testing a source water sample as well, especially if your practice recently changed the water source, changed water source filtration, and in-between seasons when using municipal water.
And don’t worry if all this water chemistry begins to feel like too much. Agenics’ support and lab teams are always available to help interpret your results and troubleshoot challenges.
Read our blog on source water selection.
Documentation: What To Record After a Failed Dental Water Test
Once your results are passing and your operatory is back in compliance, document everything.
Record:
The original test results for each chair or line
The date and time you took the chair out of service
The shock product used and the exact steps performed
The date and time the shock was completed
The retest date and results
Any changes made to your ongoing maintenance routine
This documentation is essential for internal tracking and external audits, and it helps you stay ahead of future issues. A simple documentation habit also supports training. If you need to onboard a new assistant or infection control coordinator, your records become the playbook.
If you make any modifications to your routine, be sure to update your Waterline Management Standard Operation Procedure (SOP) and ensure your team is trained on the revisions.
How To Prevent Future Failures: Build A Repeatable Waterline Program
A passed test is not the finish line. It is ongoing verification that your process is working. Keep that process working by reviewing the procedure on a regular cadence (once a year is a good period) and revising as needed. Conduct trainings whenever a change is made, new staff join, and annually to ensure everyone is on the same page!
Your procedure should include details on where your treatment water comes from, what treatment and shock products you use, where to locate the respective products’ IFUs, your testing schedule, and of course, how you will respond in the case of a failed water test.
Some offices choose to have an action limit as well. Agenics reports waterline results that are between 200-500 CFU/mL as a caution. This is a good range to trigger a preventative shock. Strong waterline programs often obtain consistent test results below 100 CFU/mL.
Test on a Consistent Cadence
After any failures, return to testing at least monthly until two consecutive tests have passed. Proceed to testing all waterlines at least quarterly. Regular testing confirms your routine treatment is effective and alerts you to early trends before they become failures. If you use in-office methods such as paddles, complete a mail-in test at least once per year to confirm your results and maintain third-party documentation. Treat continuously and train for consistency.
Understanding What Caused the Failure and Preventing Reoccurrences
Immediate remediation is the first priority. But before returning to the status quo, investigating the root cause of the failure is critical to preventing future failures. Don’t get stuck in a fail, shock, test, repeat pattern!
Many waterline programs fail due to small inconsistencies:
A bottle was not treated after refill
A product was not used at the intended concentration
A line was overlooked during a shock
A weekend or holiday created extra stagnation
Source water chemistry is incompatible with the treatment product
For a deeper dive into how to identify and fix the root cause, view our educational reference:

This document includes a Waterline Failure Investigation workflow, common causes for failures, and recommended fixes.
For a dedicated explanation on how to properly shock you waterlines, watch our training video:
FAQ: Common Questions Dental Teams Ask After a Failed Test
-
If the failure is limited to one chair, take that chair out of service until remediation is complete. If multiple chairs failed, consider a broader response and evaluate whether the issue is process, product, or source water related.
There is no formal regulation or guideline regarding use of chairs that have failed a waterline test. The above is Agenics’ recommendation for best practices.
-
Shocking is a corrective action and contributes towards bringing waterlines back into compliance. If possible, retest after the recommended waiting period and confirm receipt of a passing result before returning the chair to normal clinical use. RapidCheck is an excellent choice for a retest as you will receive highly accurate, certified results within 24 hours of testing!
Dental clinics are incredibly busy operations; however. If waiting until the retest result is available is not within practical reason for your facility, proceed with regular treatments once the shock procedure has been completed and your routine treatment product is re-instated.
-
Continuous treatment helps prevent biofilm, but it does not always remove established biofilm. Failures can also occur due to inconsistent use, product compatibility issues, water chemistry, or changes in workflow. If failures continue, contact Agenics for a detailed review and help developing clear, consistent protocols.
-
In-office tests cannot capture as many different types of organism strains as mail-in tests. As such, it is possible to receive a false pass. If results between any two test methods differ, always default to the worst of the two results for maximum risk mitigation, especially if the failure is from a mail-in test as compared to an in-office test.
-
Well established biofilm may require multiple rounds of shocking. This could mean several back-to-back shocks and a retest, followed by even more shocks. If the shock and retest cycle becomes too exhaustive, it can be worthwhile having the waterlines replaced by a trained technician. This can especially be true for waterlines that have never previously been maintained. If you do replace your waterlines, always shock after installation and prior to regular use.
Conclusion: A Failed Waterline Test Is A Problem You Can Solve
A failed water test does not have to derail your practice. The most successful dental teams treat dental unit waterline compliance like any other clinical standard. Respond immediately, shock with a plan, wait the right amount of time, retest for confirmation, and document everything.
When your water testing program includes clear protocols and consistent monitoring, you protect patients, protect staff, and protect the reputation of your practice.
-
Centers for Disease Control and Prevention. (2024, May 15). Best practices for dental unit water quality. https://www.cdc.gov/dental-infection-control/hcp/dental-ipc-faqs/best-practices-dental-unit-water-quality.html
American Dental Association. (n.d.). Dental unit waterlines. https://www.ada.org/resources/ada-library/oral-health-topics/dental-unit-waterlines
U.S. Environmental Protection Agency. (2023). Distribution system water quality: Protecting water quality with HPC monitoring (Distribution System Toolbox fact sheet). https://www.epa.gov/system/files/documents/2023-08/DS%20Toolbox%20Fact%20Sheets_HPC_508ed.pdf